Candy Cane Kisses
This was a big week in the life of the Salted Cookie. I now own a home. Boom. So obviously the first thing I had to do after signing away my life on 800 papers? Take this artsy shot of my new house key and a bottle of champagne in my new kitchen, my favorite room in the house.

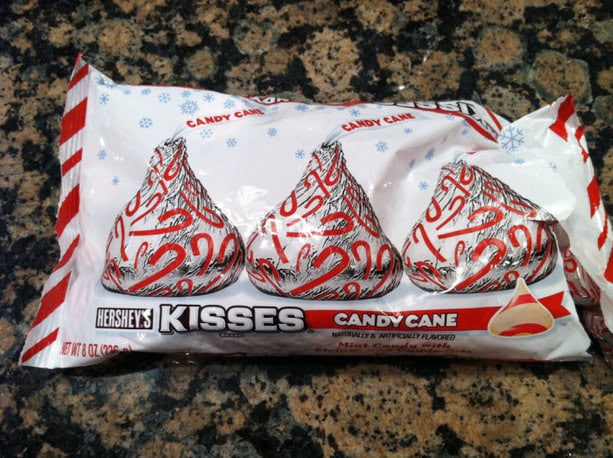
It’s perfect timing for me to move into my new kitchen … because now it’s December … which means the next four weeks are going to be nothing but chock full of holiday baked goods. I have more baked good ingredients in my house right now than actual food. And if I could fit my arms around it, I would hug my kitchen island. I have never been in love with counter space like I am with this giant piece of granite. I think there will definitely be more than once a week baking action taking place in here this month. I was perusing Rite Aid tonight looking for some holiday candy cookie inspiration. For some reason, CVS and Rite Aid seem to have better baked good ingredient selections than Stop and Shop. I picked up these Hershey Candy Cane kisses and did some perusing of the interweb to see how people have used them in other recipes. I came across this recipe from RecipeGirl’s blog and figured I would give it a try.
Ingredients:
- 1 1/2 cups powdered sugar
- 1 1/4 cups butter, softened
- 1 teaspoon peppermint extract (if you have it)
- 1 teaspoon vanilla extract
- 1 large egg
- 3 cups all-purpose flour
- 1 teaspoon baking powder
- 1/2 teaspoon salt
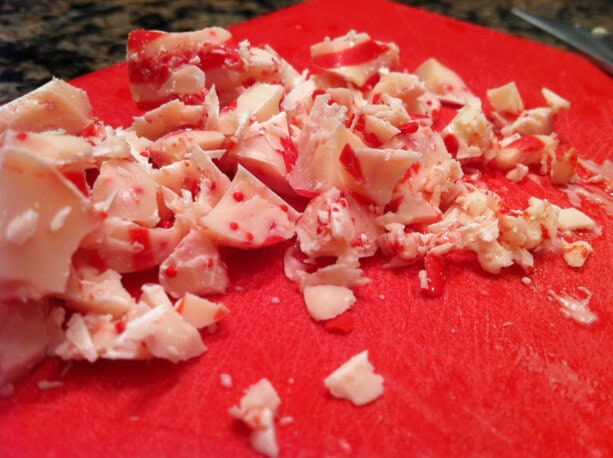
- 1/2 cup Hershey’s Candy Cane Kisses, finely chopped
- Granulated sugar for rolling
- 1 bag of Hershey’s Candy Cane Kisses (minus the ones used above)- frozen
Step 1: Beat together powdered sugar and butter until creamy. Mix in the peppermint and vanilla extract and large egg and mix well.
Step 2: Sift together the dry ingredients and incorporate into the wet mixture.
Step 3: Finely chop 8-10 candy cane kisses. Add them into the dough until incorporated.
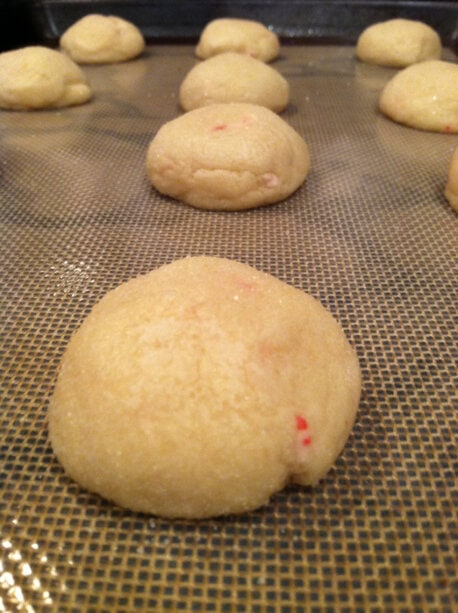
Step 4: Scoop even-size balls of dough using a small cookie scooper. Roll them in the granulated sugar so that they are coated all around. (I won’t lie … my hands were looking rough after the move and the cold weather, so I ran out to get a manicure so I would have nicely painted red nails before baking tonight so that my nails didn’t look like a squirrel gnawed on them.)

Step 5: Place the balls of dough evenly on a sil-pat or parchment lined baking sheet. Do not press them down yet. Bake at 350 degrees for 9-11 minutes.
Step 6: When the cookies come out of the oven, quickly press down one Hershey’s kiss on top gently. The cookie will crack a little so don’t worry.
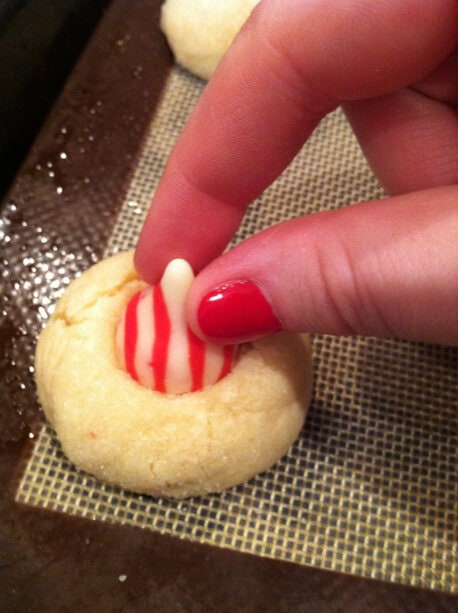
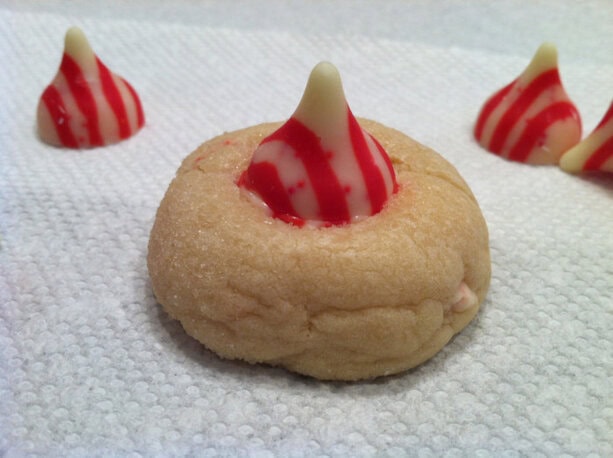
And there you have it. Pepperminty deliciousness for the holiday season. My batch made more than 30 so I ran out of kisses but the cookie itself tasted just fine plain too.
Speaking of getting in the holiday season, I picked up my Christmas tree today, which is always a bit of an adventure. I have made more trips to Home Depot in the past week since the move than I probably have in my entire life. It’s slowly becoming my new favorite store (sorry Bloomingdales). I even installed curtain rods yesterday with my mom and had to put an anchor in the wall first. Boom. Anyways, I went to get some keys made today and a shower head (which I changed myself, booyah) and decided to pick up my Christmas Tree. Home Depot’s Garden Center might not be the same Christmas tree picking experience of Jone’s Tree Farm down in Connecticut, but I had one of the handy clerks hold up two trees side by side and model them so I could make my decision. I dragged the tree to my car by myself and threw it in the trunk (I don’t mess around with tying it on the roof ridiculousness) and had 3 different employees comment “ALL BY YOURSELF????” like I was a two year old learning to hold my own spoon while eating. Yes, all by myself. I almost got sassy with a little “i don’t need a man to carry my tree” but then remembered I was in Dorchester and decided to use my better judgement. I have the ghettoest Christmas Tree stand though but finally got it standing up enough tonight to not look like the leaning tree of Southie. Decorated pics to follow next blog post.