Apple Pie from Scratch
Sweet as pie? Absolutely. Easy as pie? Not so much. This was my first time making an apple pie from scratch, including a rolled pie crust with lattice top. I was on a baker’s high from all of the Christmas baking I’ve been doing and was feeling bulletproof and ambitious. So when I received a package in the mail from OXO with a bunch of new goodies, including a glass pie dish that can go straight from the freezer to the oven, I was determined to bake up a delicious holiday apple pie. While this was certainly a labor of love, and a bit of a rollercoaster unsure of how it would turn out, the end result was a delicious (and edible) apple pie, that will be perfect for the dessert table this holiday.
Now I don’t want to intimidate you if you’re thinking of baking an apple pie from scratch, because if you’ve got the time and the patience, the result is well worth it. But for me, being incredibly impatient and used to recipes that don’t require such precision, the process was more of a challenge. If I was going to do it again, I think I’d do a no-roll pie dough crust and then an apple crumble top. Same great flavor combo in the pie, just less patience required. But if I can do it, so can you. So let me walk you through how I beat the odds to bake this beautiful pie.
Since this was my first foray into pie crust baking, I researched a bunch of different recipes and landed on this homemade buttery flaky pie crust recipe from Sally’s Baking Addiction. She had so many step-by-step photos, I thought that would be perfect for a newbie like me. My first mistake was not chilling the fats well enough. So definitely take her advice to get both the Crisco and butter super chilled to make a crumbly crust. After rolling out the dough, the hardest part for me was transferring it from the cutting board to the Glass 9″ Pie Plate. After one failed attempt, I used parchment paper to help me make the transfer smoothly the second time.
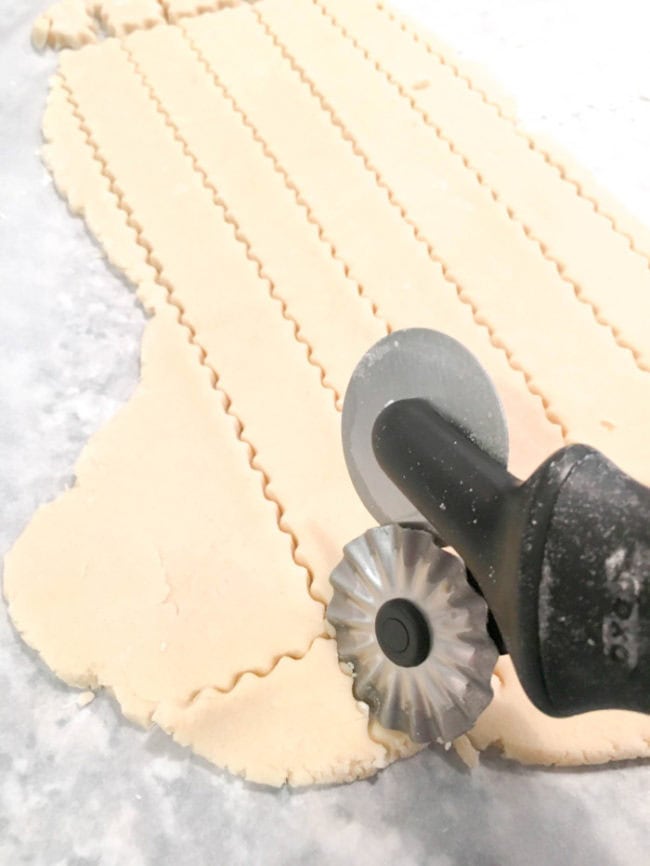
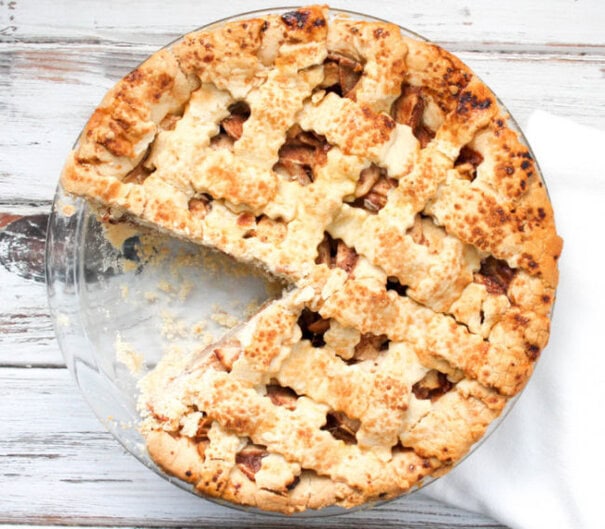
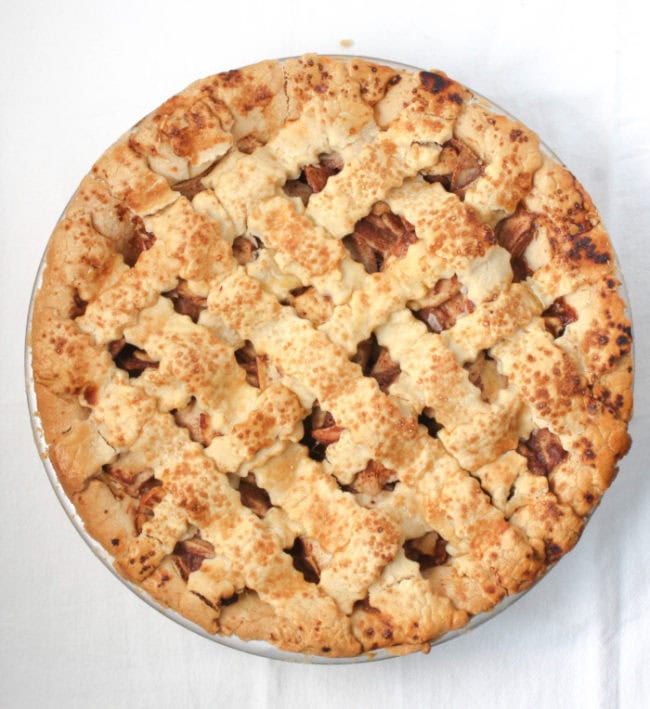
After slicing the bejesus out of my thumb nail peeling apples, I decided that if this was going to be a painful process, I was going to make sure this pie was a knockout. The pie dough recipe makes enough for both a bottom crust and a decorative top crust. I used the fluted side of my double pastry wheel to create fancy looking strips of dough to weave into a lattice topping. Because my dough was a little too fragile, it wasn’t quite as easy to weave the strips to make the lattice top, but anywhere that it broke, I just cut little pieces of dough to mend it back together. Master of illusion.

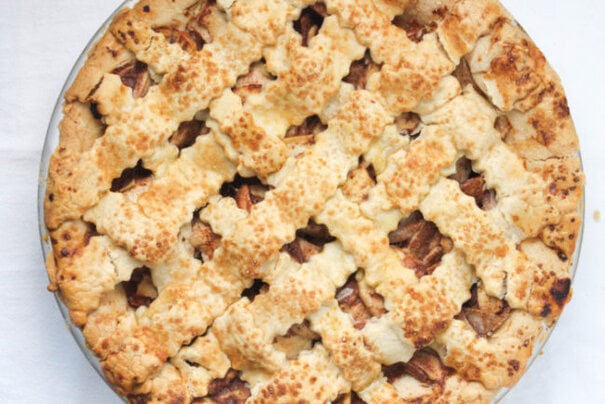
I used the 1″ pastry brush to do a light egg wash on the dough before sprinkling with coarse sugar. There’s a nice up close and personal shot. It almost looks like I knew what I was doing right? Well let me tell you, when this pie baked into it’s apple goodness in the oven, my house smelled like a bakery. Which means I must have done something right. Read Appliance Hunter’s articles for help understanding your oven’s symbols.
I didn’t want to over-bake the pie, since I was prepping this a week in advance of Christmas with the intention to freeze it so that it can be reheated on Christmas Day. But since I’m traveling to Connecticut to the holidays, without this pie, I decided to offer it to my local friend Jess so she can wow her relatives this holiday. So I had to cut into it to make sure there it was in fact, perfect. And for the blog photo of course.

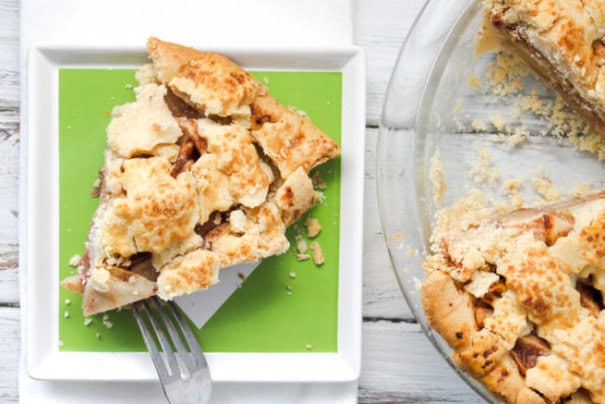
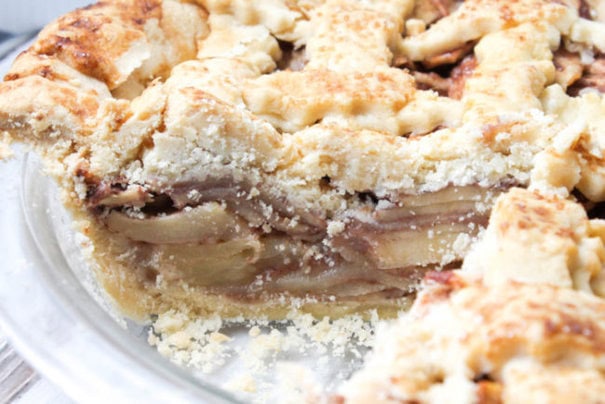
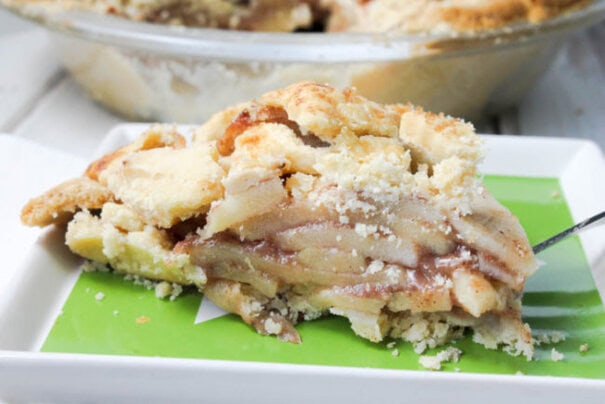
I used my steel pie server to gently cut into the pie to photograph a slice, knowing that I’d have to put it back together again. Just look at those layers of delicious baked cinnamon apples. The best part of the new OXO Glass Bakeware is that it’s made of thermal shock resistant borosilicate glass, which means it can go from the freezer to oven without the need to thaw. It also has generously sized rims, making it super easy to transport from oven to countertop or table.
You want to know the truly hardest part of this entire process? Not eating a piece of the pie. Oh man, it looks and smells SO good. Plus I was so proud of myself for actually following through with this little experiment. But I figured handing my friend a pie with a slice missing, might make it harder for her to pass off the pie as her own at her holiday dinner.
So if you’re thinking of trying your hand at pie baking anytime soon, I say do it. What’s the worst that can happen? You end up with a half baked dish of deliciousness? That doesn’t sound so bad to me. And I plan to continue to try my hand at different types of pies, until I master one that is quick, easy and delicious. Let me know if you have requests for types of pie you would like. And if you’re in the mood for pie but homemade isn’t your style, check out my recipe for what I call the lazy-man’s pie – a Blueberry Galette. Happy Baking!
Disclosure: This post is sponsored by OXO, but all opinions are my own.
Apple Pie from Scratch
Yield: 1 pie (6 or 8 slices)
Prep Time: 2 1/2 hours (includes chilling)
Cook Time: 1 hour
Total Time: 3 1/2 hours
Ingredients:
- 2 and 1/2 cups all-purpose flour
- 1 and 1/4 teaspoons salt
- 6 tablespoons unsalted butter, chilled and cubed
- 3/4 cup vegetable shortening, chilled
- 1/2 cup ice water
- 1 large egg + coarse sugar for topping
- 5 large apples, peeled and thinly sliced (I used Gala Apples for this recipe)
- 1 tablespoon lemon juice
- 1 tablespoon vanilla extract
- 1/2 cup granulated sugar
- 1/4 cup all-purpose flour
- 2 teaspoons ground cinnamon
- 1/2 teaspoon ground nutmeg
Directions:
- To make the crust: Mix together the flour and salt in a large mixing bowl. Using a pastry cutter (or two forks) cut in the butter and shortening until the mixture is coarse and there are pea-size bits of dough. Slowly drizzle the cold water in, 1 tablespoon at a time and stir with a wooden spoon just until the dough begins to form large clumps. You may not need the full 1/2 cup of water. Move the dough to a floured cutting board or clean counter, and fold the dough until the flour is fully incorporated, until it comes together but is not too sticky. Divide the dough in half, flatten to a disc and cover each with plastic wrap. Chill in the fridge for at least two hours.
- To make the filling: Peel, core and slice the apples, making sure they are sliced thin and evenly. Toss the apple in the lemon juice and vanilla extract, and then coat with granulated sugar. Mix together the flour, cinnamon and nutmeg and then toss the apples until evenly coated.
- Roll the base crust: On your floured surface, roll out one of the chilled discs of pie dough until it is a circle about 12 inches in diameter. Carefully transfer to a 9 inch glass baking dish, tucking it in with your fingertips to make sure it is smooth. Use a sharp knife or pastry cutter to trim the overhang.
- Pour the apple filling into the pie crust and spread evenly. Preheat the oven to 400 degrees F.
- To make the lattice topping: At this point, you can either roll another 12 inch circle of dough and cover on top, leaving a few slits in the middle to vent. Or, if you're feeling ambitious, to make the lattice topping roll the dough into another 12 inch circle. Use a pastry wheel, cut 16 inch strips about a half inch wide. Gently thread the strips of dough over and under one another to weave the lattice topping. Trim any overhang and crimp the edges of dough with a fork.
- Use a pastry brush to lightly top the dough with a beaten egg. I usually dilute the egg a bit with water. Sprinkle with coarse sugar. I used King Arthur Flour's Demerara Sugar.
- Placing the pie dish on a cookie sheet to ensure there's no overflow, bake at 400 degrees F for 20 minutes. Lower the temperature after that down to 375°F to bake for an additional 50 minutes. To keep your pie crust from burning, you can cover loosely with aluminum foil.
- Allow the pie to cool at least 4 hours before serving it, to be able to cut slices. You can also freeze the pie for up to 3 months and heat it up when you're ready to eat. I'm a firm believer apple pie is best served warm with a scoop of vanilla bean ice cream. Enjoy!